
Such great new features coming to Windows 365 as showed the 5th of April and seen on this site https://techcommunity.microsoft.com/t5/microsoft-mechanics-blog/windows-365-updates/ba-p/3277030. It’s time to create a blog how Windows 365 has to be setup in Endpoint Manager.
But first we sum up the new features hopefully coming before the summer:
- Windows 365 Boot will allow specialized devices to go from powering on, to logging in directly to your Cloud PC.
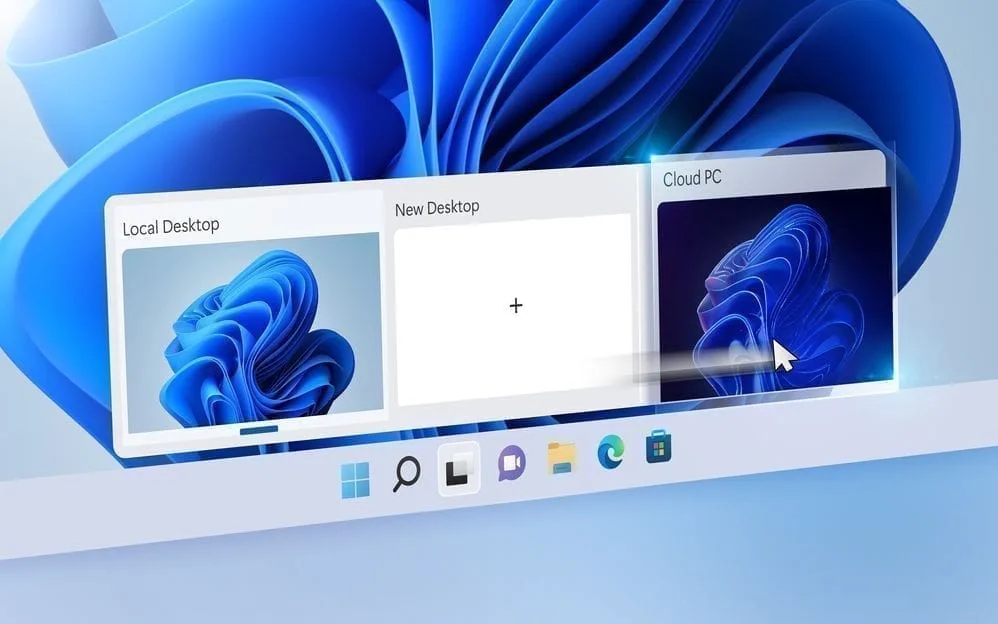
- Windows 365 Switch will enable fast desktop switching via the Task View in Windows 11 to move to your Cloud PC and from there back to your local desktop.
- Windows 365 app will be included in a future Windows 11 release and available for Windows 10, which allows you to access your Cloud PCs, manage and troubleshoot them.
- Windows 365 Offline in the future will allow your Cloud PC to sync locally on your device and you’ll be able to work without an internet connection; then once you reconnect any changes made will synchronize to your Cloud PC.
- Azure Active Directory Join support for Windows 365 Enterprise is currently in preview and will be generally available in May.
Let get things started to onboard Windows 365 to MEM.
In the following steps we are going to get a CloudPC/Windows365 onboarded in Endpoint Manager
Get a Windows 365 license business or enterprise.
To get started and unlocking the configuration in endpoint manager we have to assign a license to our tenant.
There a two type of licensing models business and enterprise, with enterprise you get more features managing it with endpoint manager like Endpoint Analytics reporting and monitoring, service health, and operational health alerts. For security in the enterprise version there is a dedicated Security Baseline what can be edited and deployed by using Microsoft Endpoint Manager.
There are several sizing possibilities and for different scenarios which can be found here
https://docs.microsoft.com/en-us/windows-365/enterprise/cloud-pc-size-recommendations
After assigning the user license we will go through the next step and create a Provisioning policy to set the configuration of the CloudPC
Create a (Dynamic) group
Create a group containing users that you want to receive Cloud PCs. Cloud PCs will only be provisioned for users who have Windows 365 licenses. The Cloud PCs will be provisioned with the configurations specified in this policy. In this blog create a group called MEM-WIN365-Users and users with a license manually.
Create Provisioning policy.
In Endpoint Manager go to Devices Provisioning Windows 365
Click on Provisioning policies.
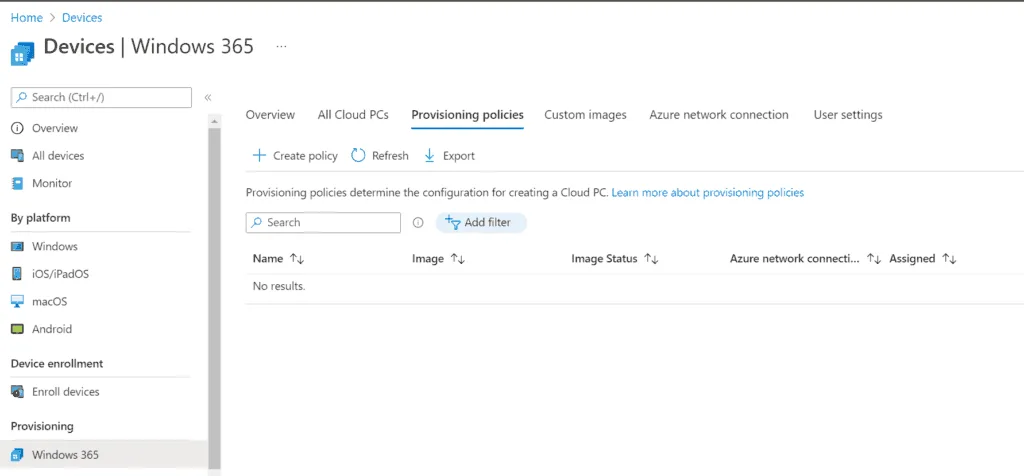
Click on Create policy
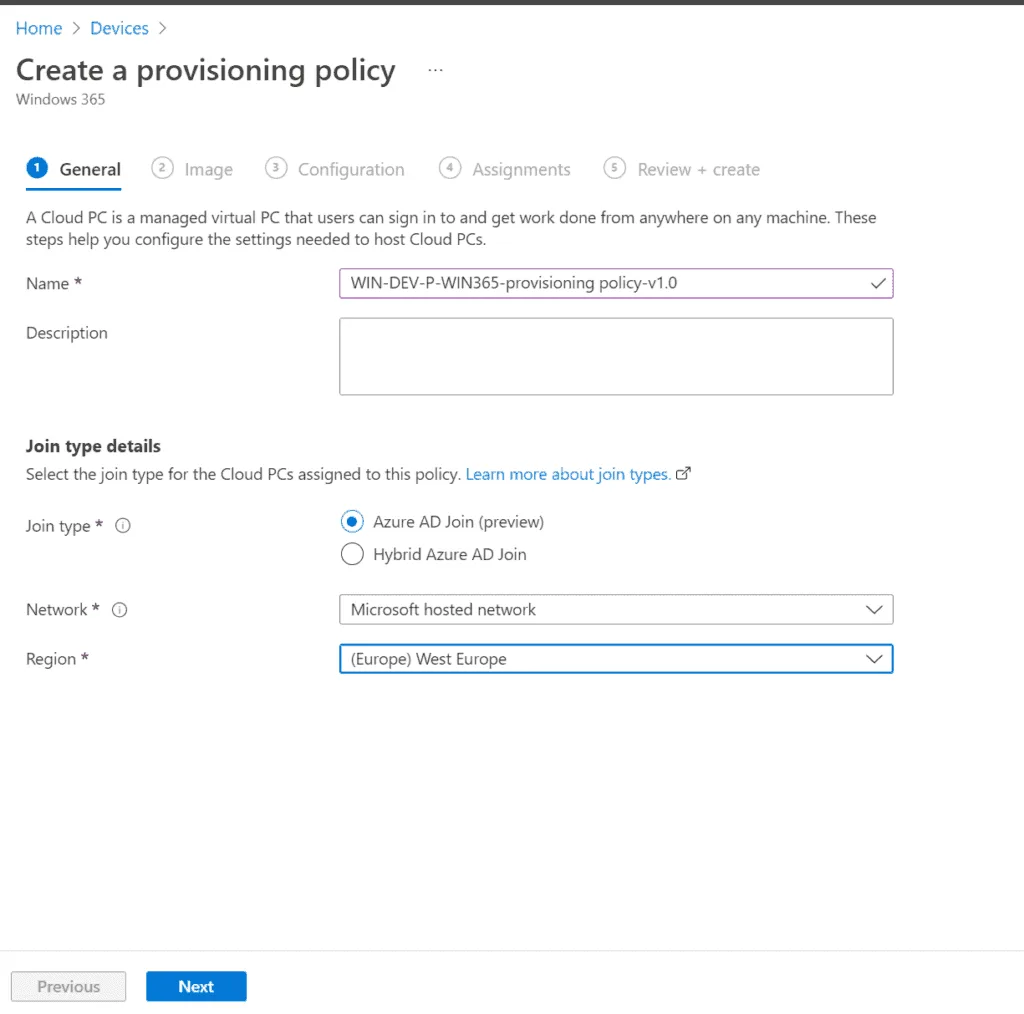
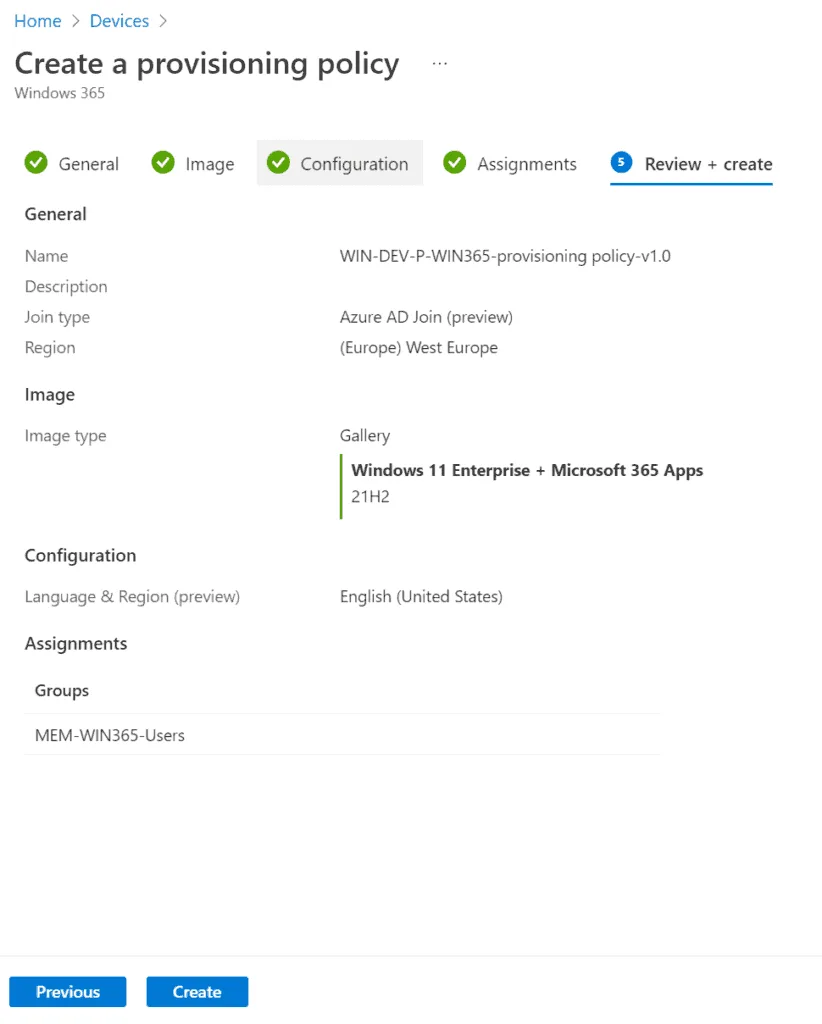
Fill in Name and perhaps Description, we will be using this CloudPC as a Cloud only device so we choose Azure AD Join. For the network we choose Microsoft hosted network (for hybrid Azure AD Join you are required to assign a Azure network connection)
Now the next drop down menu is a important one, this has to do with overall performance to the CloudPC over the network, choose the region wisely. In this case it’s (Europe) West Europe
Click next
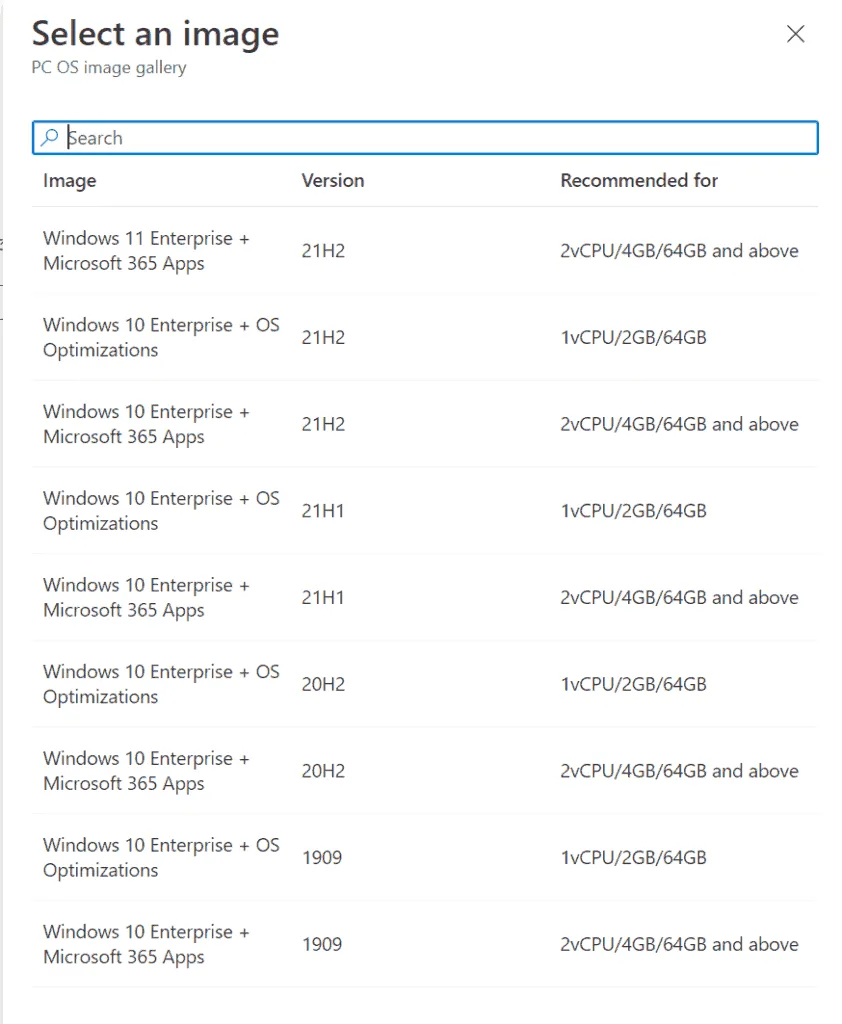
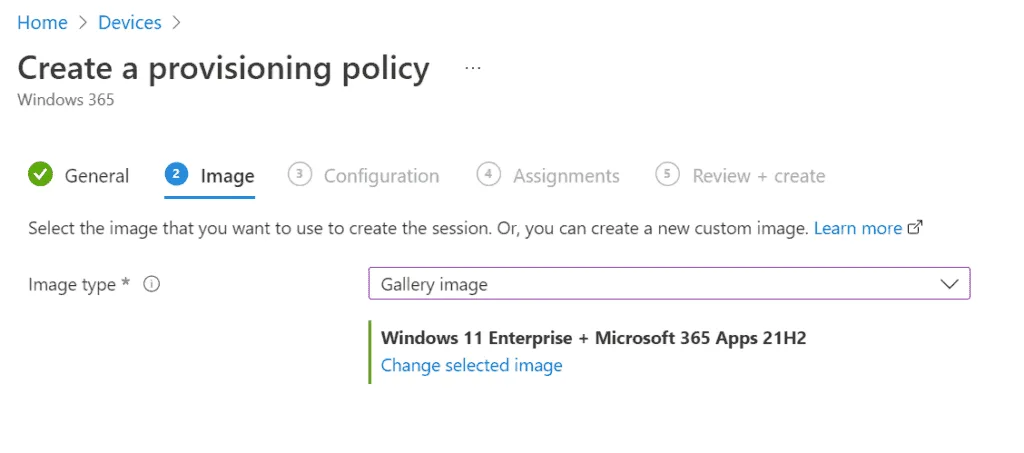
Select image custom or gallery we will choose gallery click select and select Windows 11 Enterprise + Microsoft 365 Apps
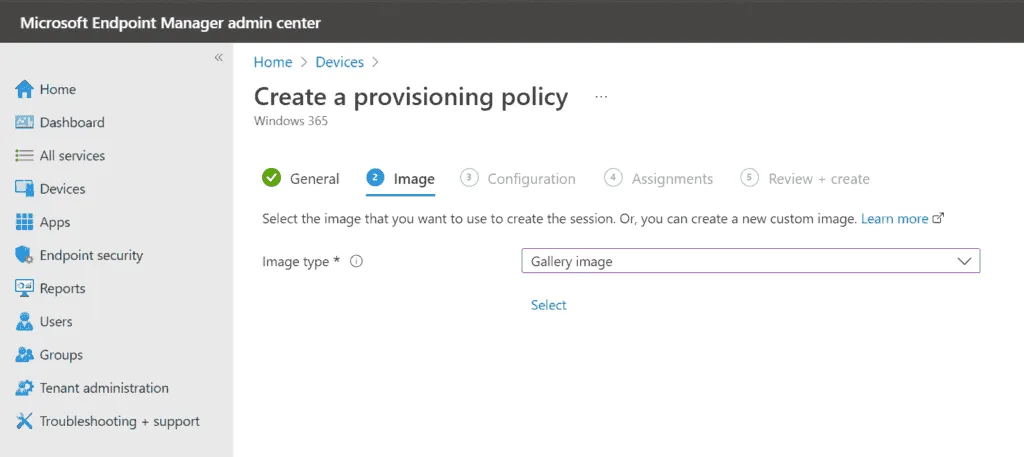
Click select
Click next
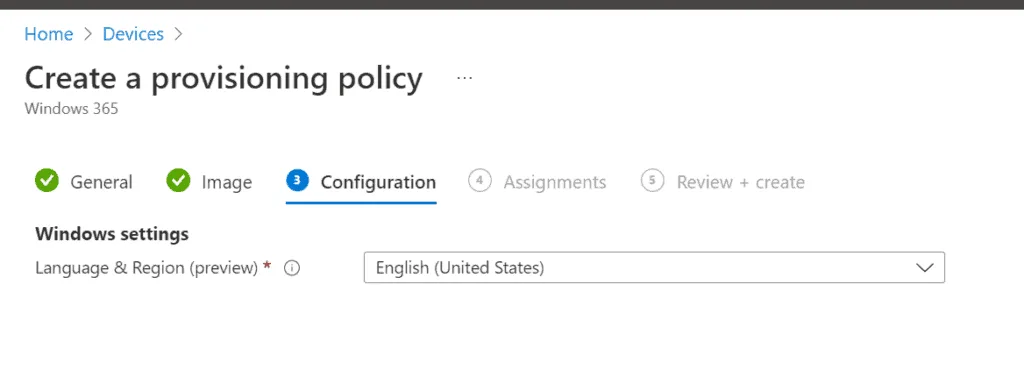
Select the preferred language and Region or country for your Cloud PCs. Your selection will be configured on this and any future Cloud PCs. We will select English (United States)
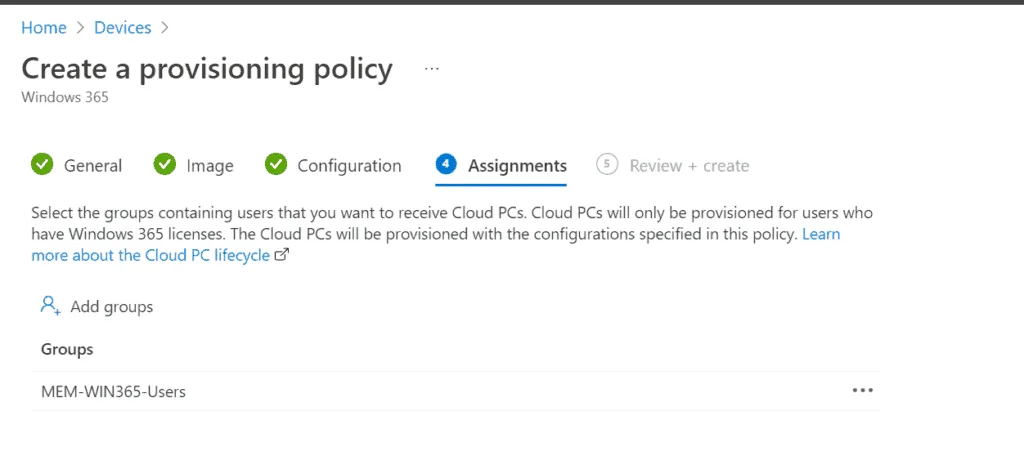
Set assignment to the previous created group MEM-WIN365-Users with users click select and Next
Review all the settings and click Create
Create User settings
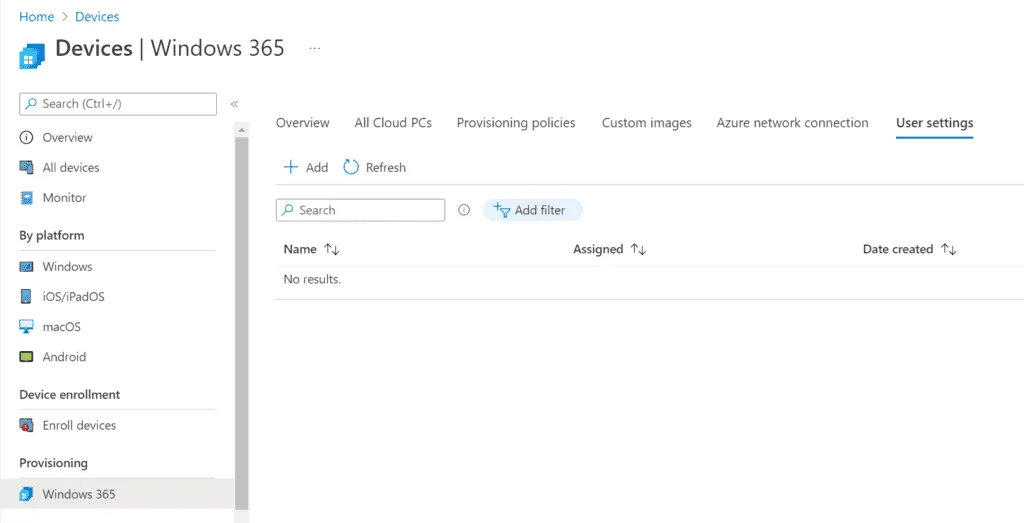
Click on User settings and click Add
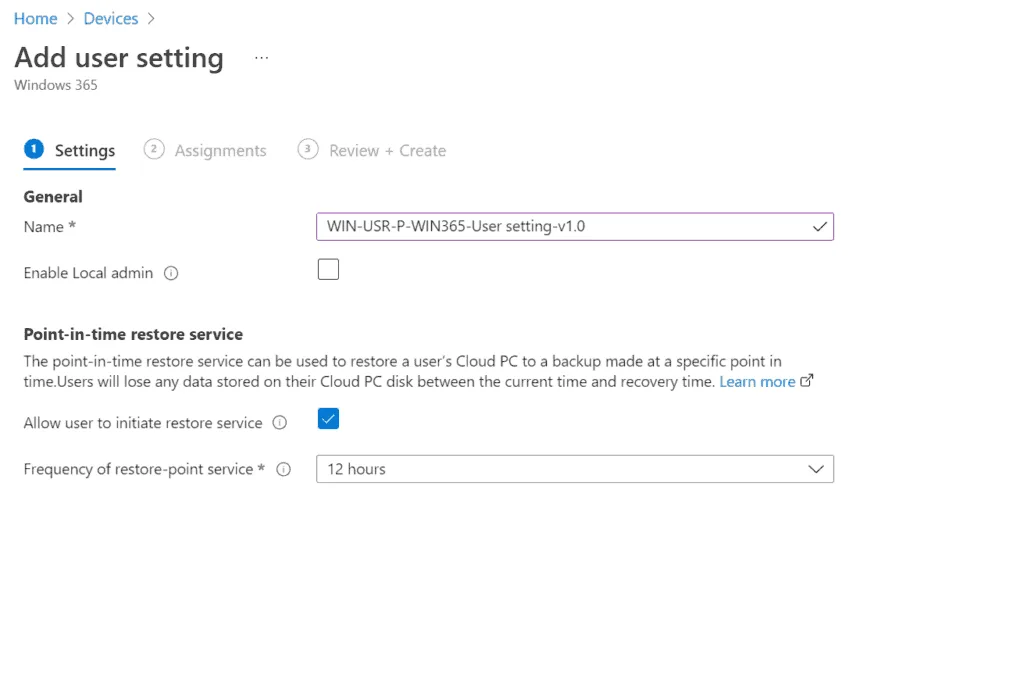
Fill in a Name like below, if you like de user be Local admin on there CloudPC enable it, in this case we don’t want to do it because of security reasons and it’s our design principle. Enable Allow user to initiate restore service at every 12 Hours, The point-in-time restore service can be used to restore a user’s Cloud PC to a backup made at a specific point in time. Users will lose any data stored on their Cloud PC disk between the current time and recovery time, this means you have to create policy’s to sync there Known folders to OneDrive (in a other blog i will go further into policy’s)
Click on Next add assignment to the same group created earlier MEM-WIN365-Users, review the settings and click Create.
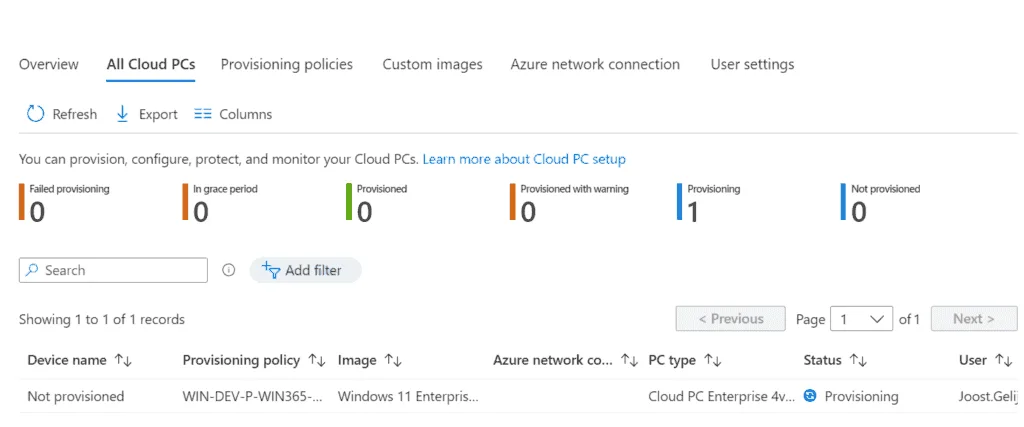
Click on All Clou PCs and you will notice that a CloudPC is Provisiong this will take a while (20-30 min for what we have seen)
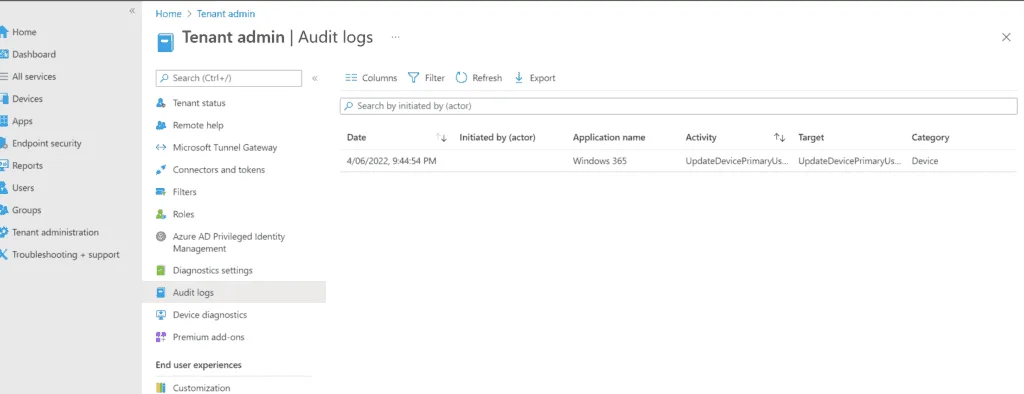
For extra logging its possible to go to Tenant admin, Audit Logs
When the CloudPC is ready provisioning it will show a Status with green mark and Provisioned. Now it’s time to go the Windows 365 website Windows 365 (microsoft.com) and logon with the user assigned a license
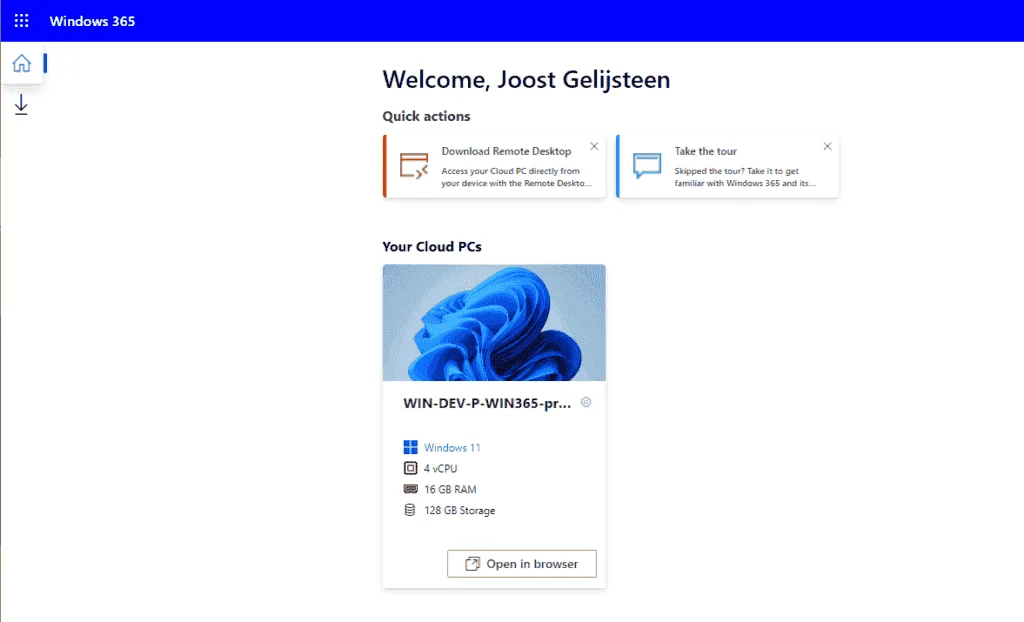
Click on Open in browser

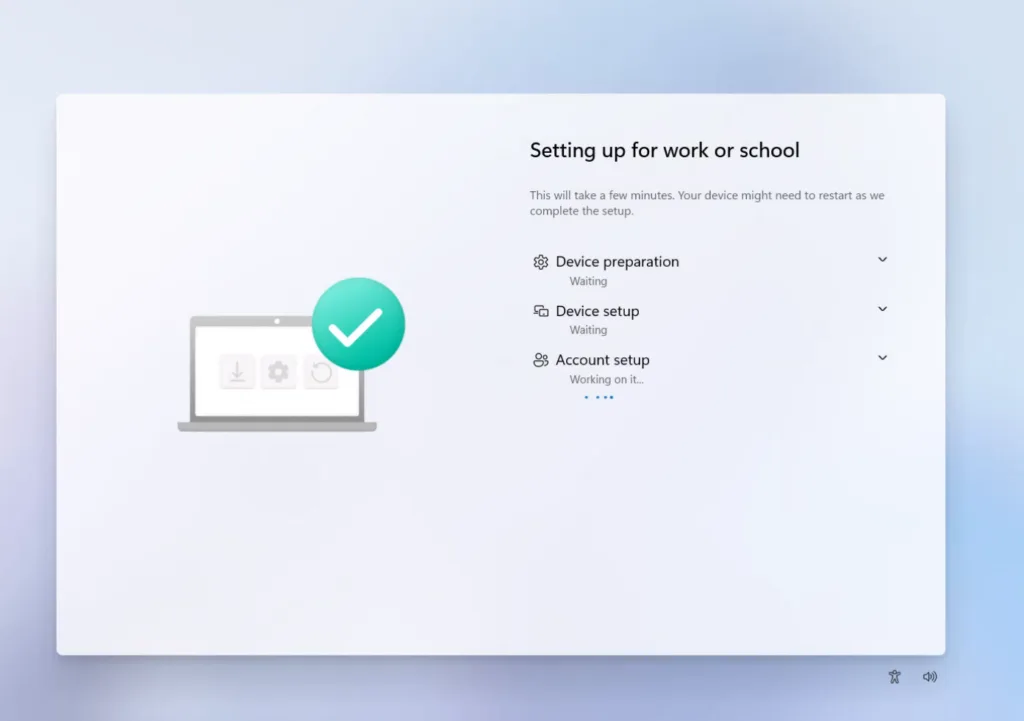
Log on with the user assigned a license, we enabled the default ESP to see what it happening (see below)
Happy playing around with Windows 365 in the couple of months a lot of nice features coming up
In the upcoming blogposts we are going to create some Dynamic user groups to help provision the CloudPC and take you through some endpoint manager policies for the CloudPC