Microsoft just released Endpoint Privilege Management (EPM) in public preview, for now, we can use it for free. When going to GA it’s available via the new Intune Suite or a separate license.
What is EPM
For best practices in a secure workplace, we do not want to give our users administrator rights but standard user right. So the users cannot do tasks requiring administrative privileges like installing applications, drivers, or firmware updates. This is where Endpoint Privilege Management (EPM) comes to the rescue. With EPM we can set policies to set the elevation to install applications that an Admin (with the right roles in Intune) has granted to be installed.
EPM requirements
Because EPM is in public preview no license is needed to onboard but when it’s General Available we need:
- Microsoft Intune Suite – Use Intune Suite add-on capabilities – Microsoft Intune | Microsoft Learn
- Endpoint Privilege Management license
It will work on Windows 10 or Windows 11.
- Windows 11, version 22H2 with KB5022913
- Windows 11, version 22H1 with KB5023774
- Windows 10, with KB5023773
And last but not least it is only supported on Hybrid Azure joined devices and Azure AD Joined devices.
Endpoint Privilege Management (EPM) Agent
After creating an elevation setting policy the EPM agent will be installed on the device. There will be a folder created under Program Files:

And a service is running:

Getting started with EPM
To enable EPM we have to go to the Intune portal | Endpoint Security | Endpoint Privilege Management
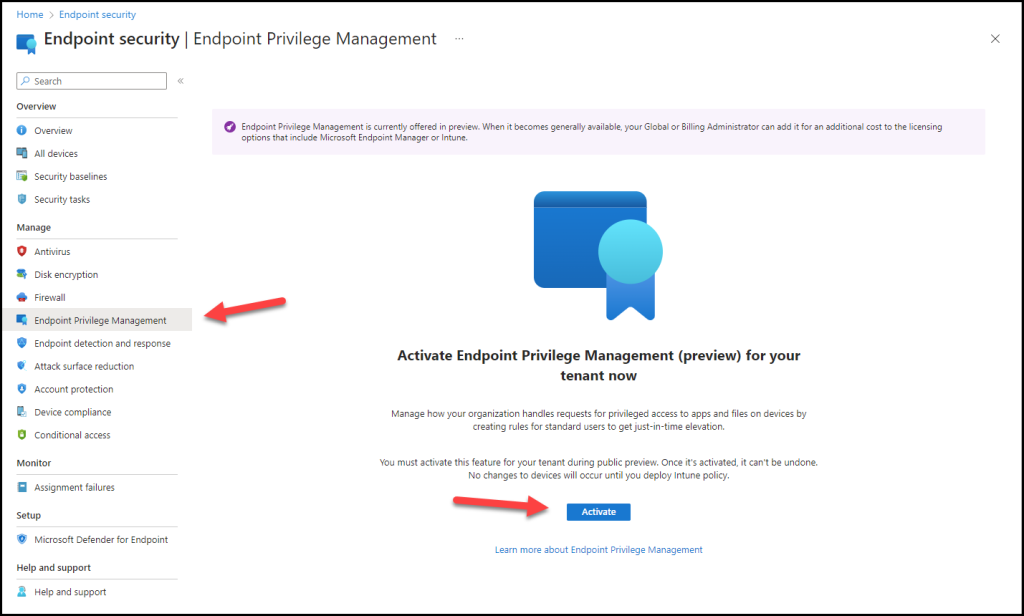
Click on Activate
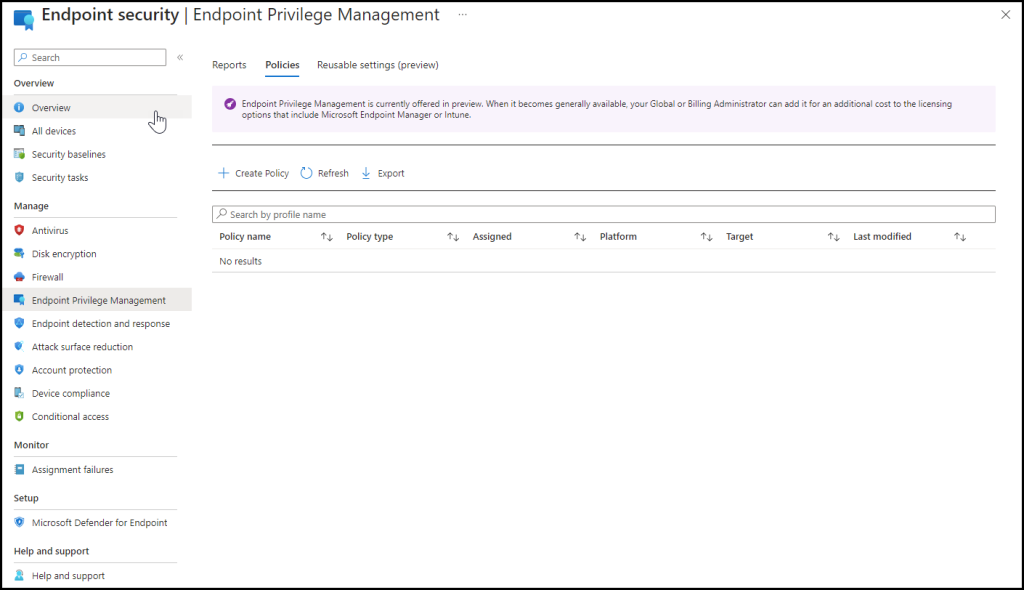
The following screen will appear where we can create an elevation settings policy and Elevation Rule policy
Elevation settings policy
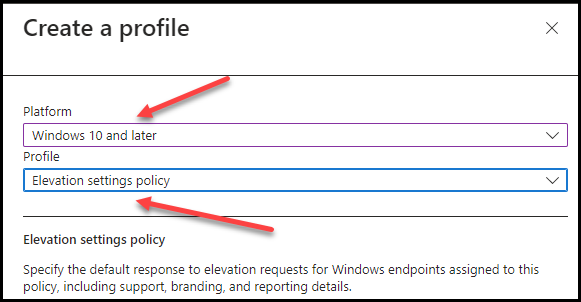
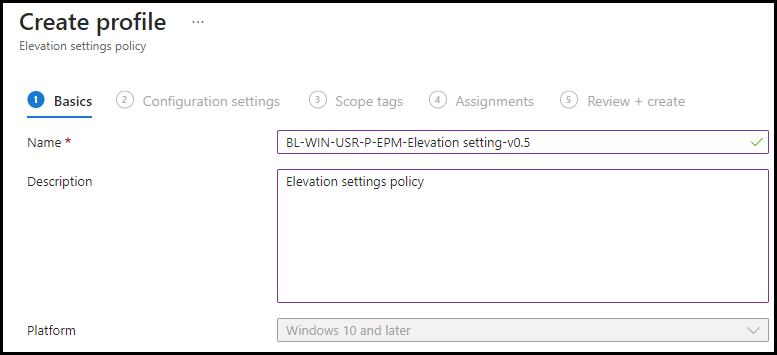
Click on + Create Policy select Platform windows 10 and later and click on elevation settings policy this will enable EPM on the device and the agent will be installed and specifies the default response to elevation requests for Windows endpoints assigned to this policy, including support, branding, and reporting details.
Click Create, and give it a Name and Description. click Next
In the next step, we will enable EPM via the Privilege Management Elevation Client. Click on Enable.
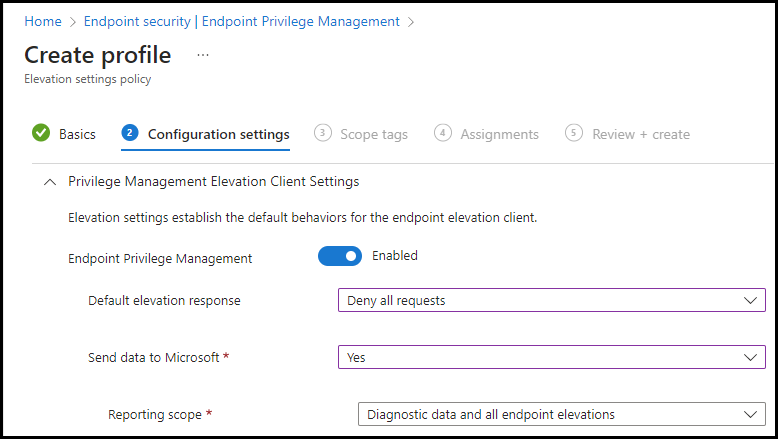
Now we have the Default elevation response which is the default response for an elevation request of any file that’s not managed by a Windows elevation rule policy which has 3 options:
- Not configured: This is the default option if selected EPM will fall back to its standards and deny all request
- Deny all requests: If the files aren’t defined in a Windows elevation rules policy it will block the elevation
- Require user confirmation: here we can choose two types of justification Windows authentication or Business justification
For now, we will choose to Deny all requests.
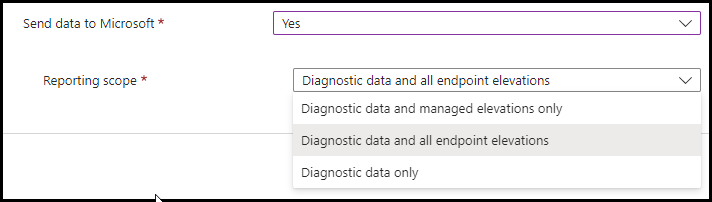
Send data to Microsoft more information can be found here we will choose Diagnostic data and all endpoint elevations, click Next, click Next
Choose an assignment, click Next, and click Create.
Elevation policy
Now it is time to create an elevation policy to let a standard user install an application with some policies. Before we can create the policy, we need to know more information about the application(s) we want the elevation policy to work for.
In the EPM elevation policy we need information like the file has and the certificate of the application these can be found with some easy powershell script.
Certificate:
Get-AuthenticodeSignature "File location + file" | Select-Object -ExpandProperty SignerCertificate | Export-Certificate -Type CERT -FilePath "c:\temp\FileCert.cer"

########
Example:
Get-AuthenticodeSignature "C:\Program Files\Microsoft Office 15\ClientX64\OfficeClickToRun.exe" | Select-Object -ExpandProperty SignerCertificate | Export-Certificate -Type CERT -FilePath "c:\temp\FileCert.cer"
Hash:
Get-FileHash "File location + file" | select-object Hash

########
Example:
Get-FileHash "C:\Users\Joost\Downloads\7z2201-x64.exe" | select-object Hash

Hash
----
B055FEE85472921575071464A97A79540E489C1C3A14B9BDFBDBAB60E17F36E4
Again go to Endpoint security | Endpoint Privilege Management and click on + Create Policy, fill in Platform Windows 10 and later, Profile Elevation rules policy, and click on Create
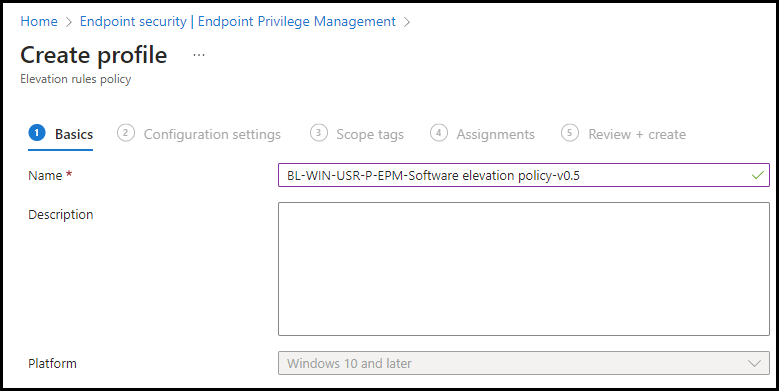
Fill in a Name and if you want an Description click on Next
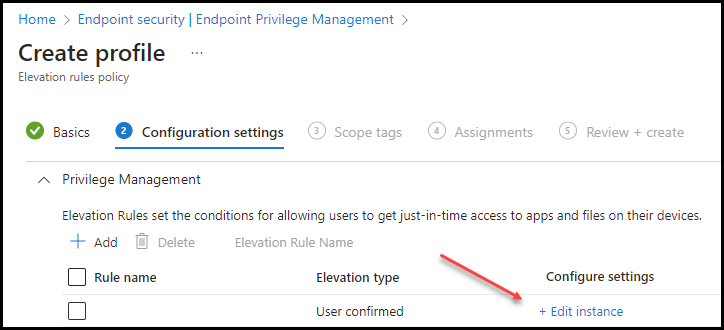
Fill in:
- Rule Name: The name of the rule we want to create in this case “Installation 7Zip”
- Description: Short description of the rule we are creating “Install 7Zip with Business justification”
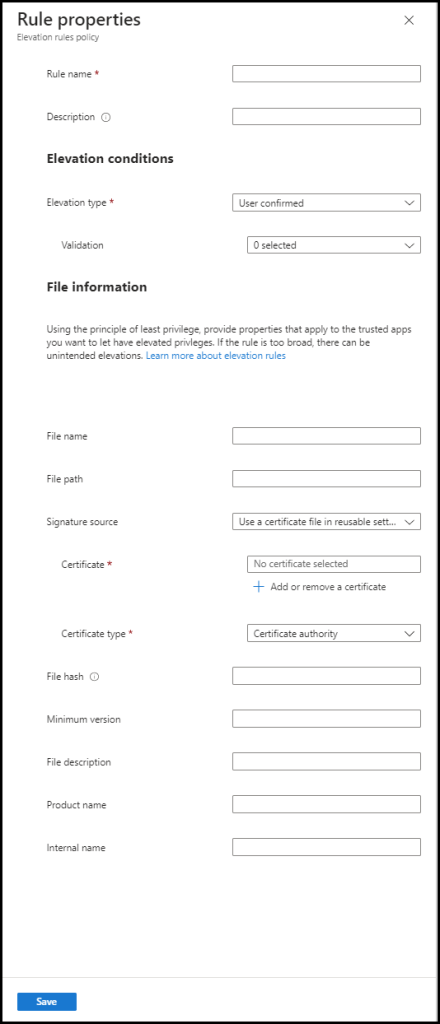
- Elevation type: Automatic or User confirmed (With Validation Business justification and/or Windows authentication.
- Validation: Business Justification
- File name
- Signature Source: (for 7Zip not configured)
- File hash: fill in the file hash you can gather with the PowerShell command.
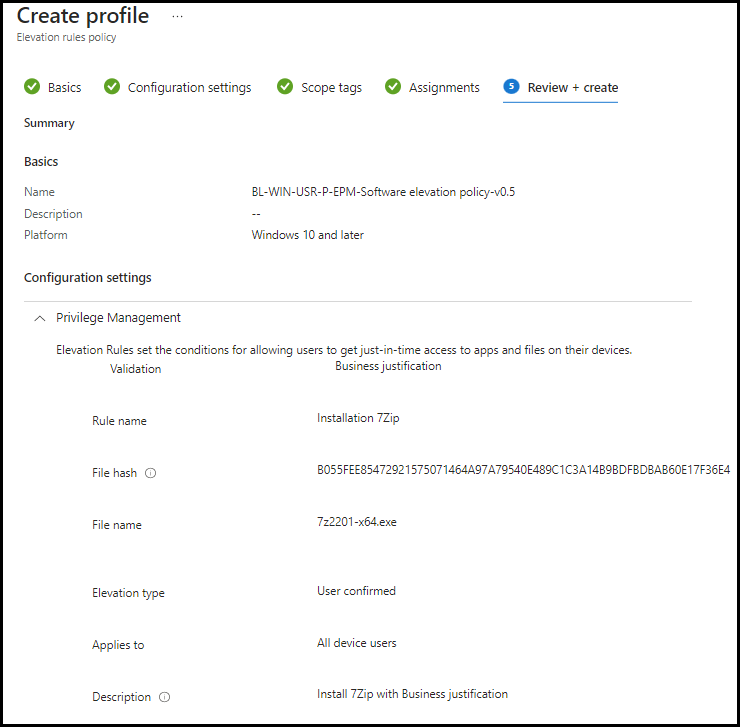
Click Save, then Review+ Save
The policies are ready to check on a users device
User Experience
The most important part of a new solution is offcourse the user experience, how will this work for a user, do you need a large adoption for installing applications etc.
When the EPM agent is installed on the device there will be a Run with elevation access in the classic menu (known issue in the preview)
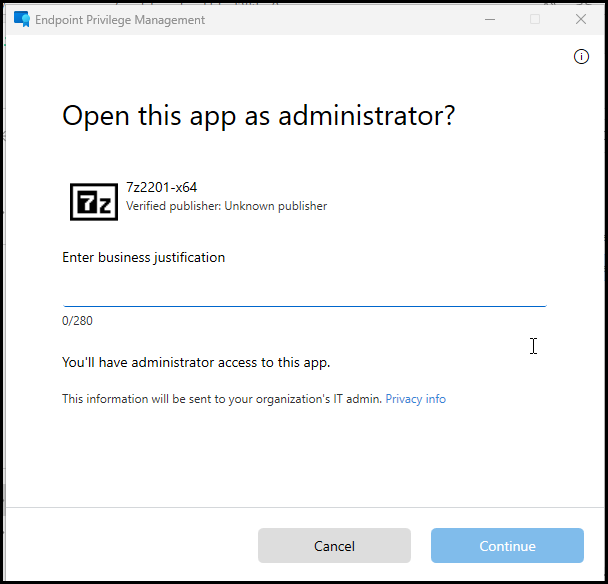
Application with elevation policy
So right click on 7Zip, Show more options.
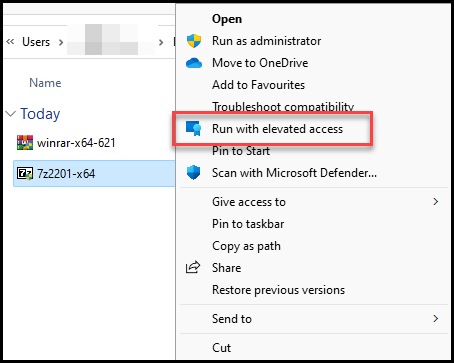
Click on Run with elevated access
The Business justification screen pops up, fill in a business justification and click on Continue. and 7Zip will install
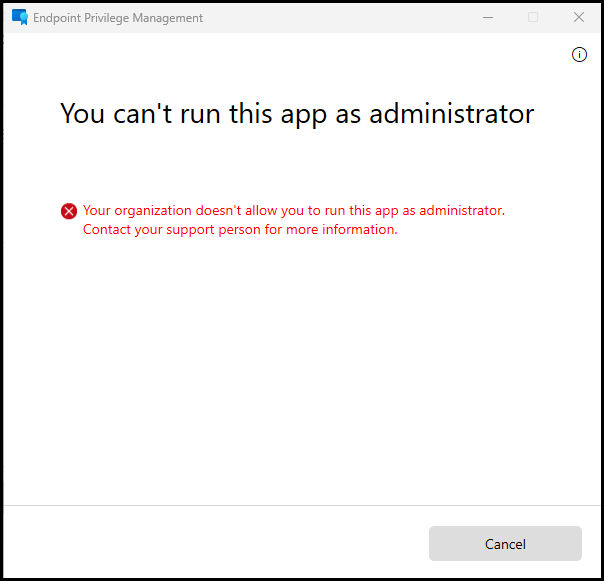
Application without elevation policy
When trying to install a application without a elevation policy the experience is in the following screenshot
Conclusion
Endpoint Privilage Management is a very welcoming tool in the Intune suite. Becaus EPM is also available as separate tool so that is very good thing. the overall experience is easy for the administrator but even a better experience for the end user. Because it is still in public preview it probably will be extended with newer features as well. Overal is this solution helping a lot to get all companies and user to a secure workplace with only standard users.